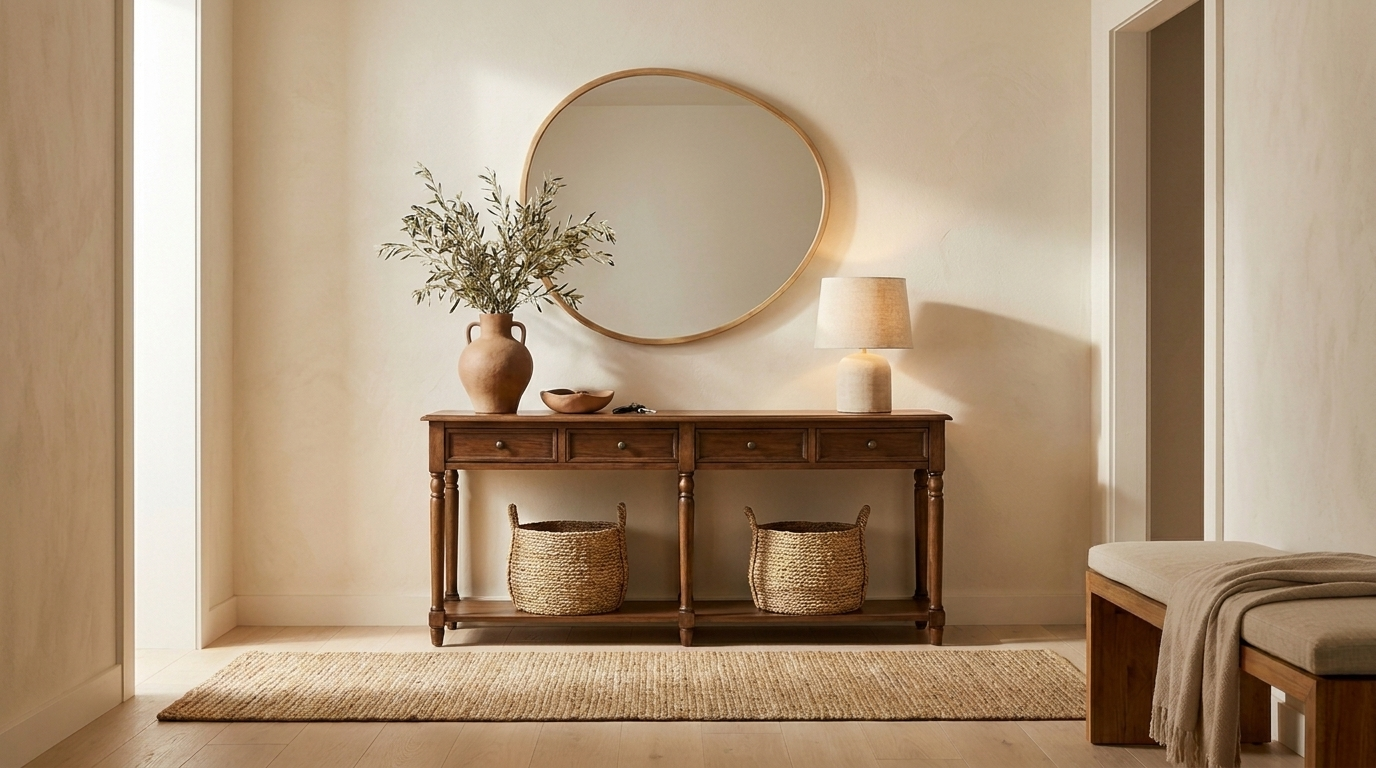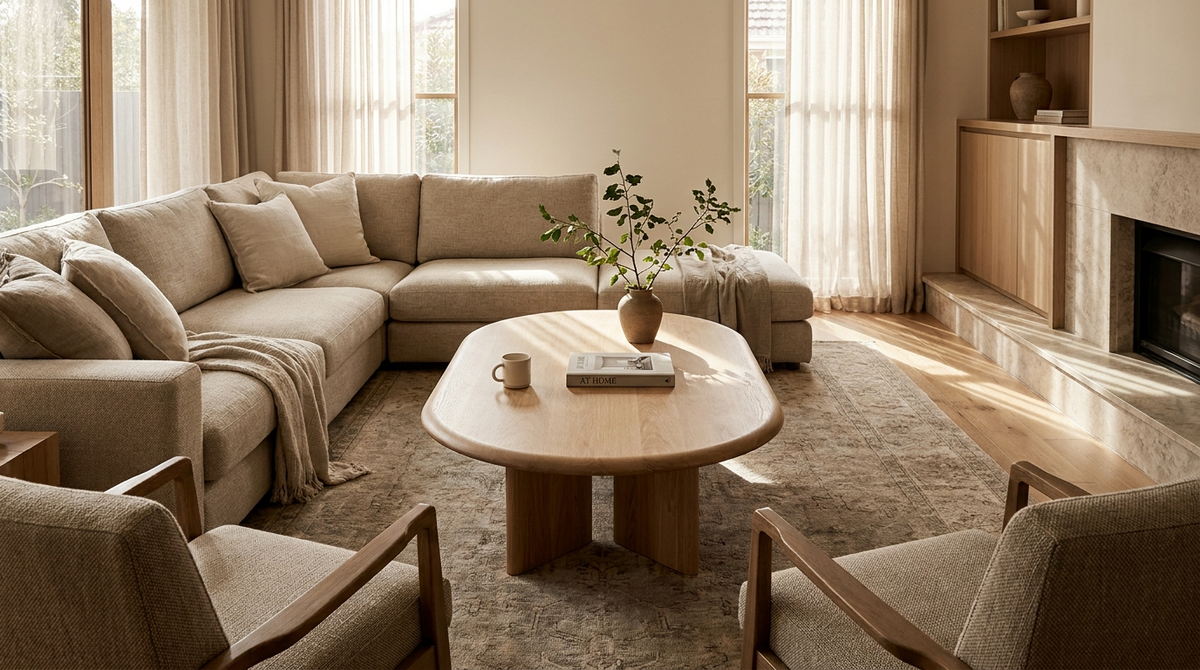
How to Customize Solid Wood Furniture Finishes and Fabrics
If you want to learn how to customize solid wood furniture finishes and fabrics, start with the sequence, not the swatch. Most people assume that matching wood finishes to fabrics is a design instinct you're either born with or you aren't. It isn't. It's a process, and once you understand it, it becomes repeatable.
At Mercer & Gray, we've spent years building and selling solid wood furniture and guiding customers through exactly this kind of decision: whether to go with a dark walnut stain or a painted finish, which upholstery fabric will survive three kids and a dog, and how to know whether a swatch that looks right in the store will still look right in their actual living room. The answer to that last one, by the way, is almost never yes.
By the end of this guide, you'll know how to choose the right finish for how the piece will actually be used, prepare the surface properly, select fabric based on durability rather than appearance, and coordinate everything to your room's undertone, plus make an honest call about whether this is a project you should tackle yourself.
How to Customize Solid Wood Furniture Finishes: What to Know Before You Choose
The first decision you're making with any wood finish is a functional one: does this piece need maximum protection, or does it need to look beautiful and be easy to repair? Those two goals pull in different directions, and the finish options divide cleanly along that line.
There are two broad categories. Penetrating finishes, like tung oil and oil-varnish blends, soak into the wood fiber and protect from within. They give the piece a natural, low-sheen look and are easy to maintain: wipe on more oil when it starts to look dry. Film finishes, like polyurethane and lacquer, sit on top of the wood and form a hard protective shell. They're more durable but harder to repair when they scratch or chip.
Stain vs. paint: two different results, two different commitments
Stain enhances what's already there. It adds tone while keeping the grain visible, which means the wood's natural character comes through. For that to look right, the surface needs to be clean and consistently sanded; stain is unforgiving of prep shortcuts.
Paint covers the grain entirely, adds bold color, and hides surface imperfections. It's a fundamentally different aesthetic direction and a harder one to undo. Distressing and whitewashing fall into paint-adjacent territory: both create aged, coastal, or vintage aesthetics using diluted paint applied over bare wood, then wiped back to varying degrees of opacity.
Film finishes vs. penetrating oils: what actually protects the wood
Polyurethane offers the highest scratch, abrasion, and moisture resistance of any common interior finish. Oil-based polyurethane cures harder and handles heat better than water-based, making it the right call for kitchen and dining tables. Its drawback is repairability: a scratch in polyurethane means sanding back to bare wood and starting over. For a broader comparison of polyurethane and other options, see the ultimate guide to wood finishes, polyurethane, and alternatives.
Tung oil and oil-varnish blends sit at the other end of the spectrum. They offer minimal protection against wear but are simple to maintain and repair, which makes them a strong choice for decorative pieces or low-traffic items where looks matter more than hardness.
Choosing a topcoat that fits how the piece will be used
For a dining table or a desk with daily use, polyurethane is the clear answer. Three thin coats is the widely recommended standard for a solid wood tabletop. For a bedroom dresser that gets touched occasionally, an oil-varnish blend or even shellac is worth considering, especially if repairability matters. Wax adds a silken luster and smooths the surface, but it provides almost no protection on its own. Use it as a final layer over another finish, not as a standalone product.
Preparing the Surface Before Any Finish Goes On
Preparation is where most refinishing projects go wrong. People rush the sanding, skip the sealer, or apply the topcoat before the stain has fully dried. When that happens, the finish looks uneven, bubbles, or peels within months, and those problems are most often caused by poor preparation or rushed application rather than the finish type itself.
Stripping the old finish and cleaning the wood
For a piece with an existing film finish, a chemical stripper is the most thorough starting point. Apply a thick layer, let it work according to the product instructions, then scrape the softened finish off with a putty knife. Avoid belt sanders on flat surfaces; they're too aggressive and can permanently alter the shape of the wood. Once the old finish is off, clean the surface thoroughly before sanding. Anything left on the wood gets sealed in by the next step. For a practical walkthrough of the entire refinishing sequence, this step-by-step furniture refinishing guide is a helpful companion.
The sanding sequence that actually matters (80 to 220)
Start with a coarse grit, around 80 to 120, to remove remaining finish and level any imperfections. Move to a medium grit, 150 to 180, to begin smoothing the surface. Finish with a fine grit, 220, to prepare the wood for stain or paint. Always sand with the grain, never across it, using long and even strokes. Use a sanding sponge for edges and corners where a flat sanding block won't reach. Wipe down with a tack cloth between each stage so you're not dragging old dust through a finer grit.
Staining, sealing, and applying the topcoat in the right order
Apply stain with a rag or foam applicator and wipe off the excess while it's still wet. Drying times vary by product and conditions, but 12 to 24 hours is a typical minimum before moving on. Then apply two coats of sealer, letting each coat dry fully before the next.
When that's done, apply your topcoat in thin, even layers, sanding lightly with 400-grit between coats to knock down any bubbles or drips. Two to three coats is standard for durability. Patience between coats isn't optional: rushing this step is the single most common reason a refinish looks amateur.
Picking Upholstery Fabric That Holds Up Over Time
If the piece has any upholstered component, the fabric choice matters as much as the finish. A chair with a beautifully refinished frame and a cheap fabric seat will look tired within a year. Many buyers choose fabric based on color and texture without ever checking the one number that actually predicts durability. For an accessible primer on fabric types and their care, consult this guide to upholstery fabrics.
What double rubs actually mean for daily use
The double rub count measures how many times a fabric can be abraded back and forth before showing wear. For residential use, 30,000 to 50,000 double rubs covers most applications. Commercial-grade fabrics start at 100,000 and above. To put that in practical terms: a fabric rated 30,000 double rubs will hold up fine on a reading chair used twice a week, but it will show wear on a dining seat used three times a day by a family. Match the rating to the actual use, not the ideal use.
The best fabric types for high-use solid wood furniture
Not all performance fabrics are equal. Here's how the main options compare for solid wood furniture with upholstered components:
- Crypton fabric, the top performer for families with children or pets. It has a built-in moisture barrier, high abrasion resistance, and a soil-release finish that means liquids roll off rather than penetrate.
- Solution-dyed microfiber polyester, soft, water-resistant, and easy to clean without specialized products. A strong all-around choice for everyday seating.
- Olefin, highly resistant to stains, mildew, and UV fading, making it a solid option for pieces near windows or in high-traffic rooms.
- Well-finished leather, holds its shape over time and wipes clean with a damp cloth.
What to avoid: loose-weave linens, low-abrasion velvets, and silk-heavy blends. All three lose structure quickly under regular use.
Stain treatments worth factoring into your fabric decision
Scotchgard works well as an aftermarket treatment for cotton blends and everyday fabrics. Crypton's soil-release protection is built into the fiber itself, which is more reliable than a spray-on coating that wears away over time. For households that need to sanitize surfaces regularly, bleach-cleanable performance fabrics are available and worth the slight premium. Solution-dyed synthetics resist UV fading because the color runs through the entire fiber, making them the right choice for any seat that gets regular sun exposure.
How to Match Wood Tones, Fabrics, and Paint Colors to Your Room
The single most useful concept in visual coordination is the undertone rule. Every wood in a room carries an undertone: either warm (red, yellow, orange) or cool (blue, green, purple). When you mix undertone families without intention, the room feels unsettled in a way that's hard to name but easy to feel.
The undertone rule that ties a room together
Cherry and golden oak sit in the warm family. Walnut and weathered oak carry cooler, greener undertones. Mixing a warm-family wood with a cool-family wood creates visual tension. Mixing two tones within the same family, say, a golden oak dining table with a darker cherry accent piece, creates intentional contrast. Limit any room to two or three stain tones maximum, with one serving as the clear primary and others as supporting accents. For ideas about intentionally mixing pieces, see our Mismatch Bedroom Furniture: A Stylish Guide.
Building a palette around your chosen wood tone
For a warm undertone palette, think camel and rust upholstery against terracotta or cream walls. The wood stains that anchor this palette well are cherry, hickory, and golden oak. For a cool undertone palette, navy and charcoal upholstery pair naturally with slate blue or sage paint, and walnut or weathered oak provide the wood anchor. Neither palette is more current than the other; what matters is internal consistency.
Why testing samples in your actual room changes everything
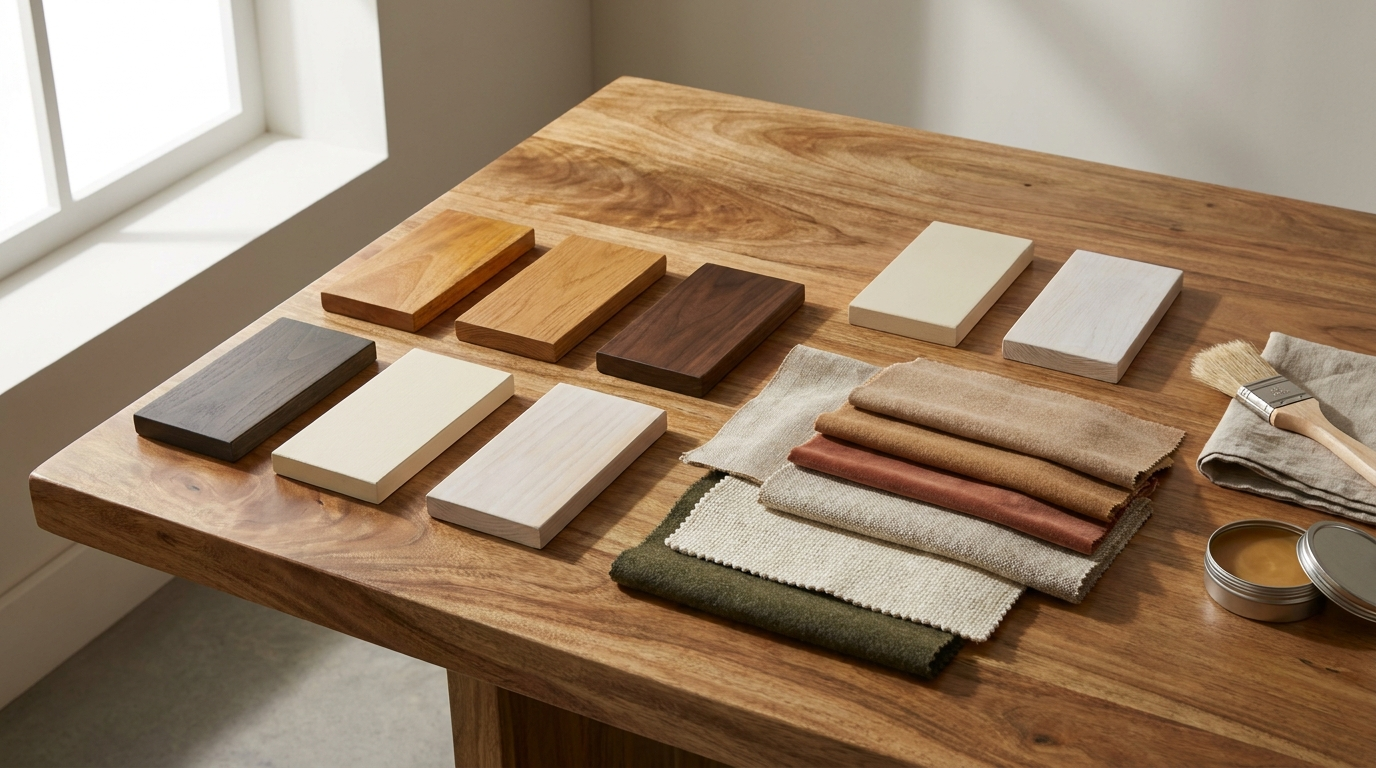
Stain looks different under every light source. A swatch that reads warm brown under store lighting can look orange under incandescent bulbs and almost gray in afternoon daylight. Always apply a topcoat to any stain sample before judging the color, because raw stain never shows the finished result accurately. Then view the sample in your actual room, under the light you actually live with. This single step eliminates most finish regret.
DIY vs. professional refinishing: what the cost and time trade-off looks like
DIY refinishing saves money and costs time. That's the whole trade-off, and most people underestimate which side of it they're actually on.
Realistic cost ranges for common furniture pieces
Professional refinishing for a standard dining chair runs $100 to $400, with reupholstery adding another $50 to $250. A dresser lands in the $300 to $2,000 range depending on complexity. A sofa can reach $4,000 for full professional reupholstery when fabric and labor are both factored in. DIY material costs are significantly lower, a chair can be refinished for $50 to $250 in materials. But the time investment is 10 to 40 hours per piece, compared to roughly 14 hours of total professional labor for a standard dining chair job. For a useful external breakdown of typical refinishing costs, see this furniture refinishing cost guide.
When DIY makes sense and when it doesn't
Simple dining seat cushions are manageable DIY territory. The material cost is low, the process is forgiving, and a mistake doesn't damage the structural frame. Complex reupholstery on a wingback chair or a tufted sofa is a different matter entirely: the pattern cutting alone requires significant skill, and a mistake can mean cutting the wrong length of an expensive fabric.
The practical break-even point is straightforward: if the piece is worth more than the cost of professional service, hire it out. The risk isn't worth the savings.
How Mercer & Gray's Customization Process Works, from Swatch to Finished Piece
This is the exact sequence the Mercer & Gray customization process walks through with customers, finish selection, fabric durability, undertone matching, for anyone who wants a bespoke solid wood piece without navigating those decisions alone. It's not a shortcut so much as a guided version of the same process. Learn more about our approach in our Commitment to Craftsmanship.
What the swatch library includes and how to use it
The swatch library includes physical samples of finish tones covering stain, paint, and whitewash options, alongside fabric swatches with durability ratings already noted. Customers can request swatches before committing to any order and view them at home under their actual lighting, which is exactly the sample-testing step described earlier, built into the ordering process rather than left as homework.
Working with artisans on bespoke finishes and fabrics
Once a finish tone and fabric are selected, the artisan team builds the piece to specification using traditional woodworking techniques. Because each piece is finished by hand from solid timber, natural variation is part of what makes every piece distinct. Customization extends beyond finish and fabric to include inlays and carvings for customers who want something genuinely singular. The result is a piece built to the customer's exact room, not a catalog item adapted after the fact.
Why ordering custom from the start beats retrofitting later
A factory-finished flatpack piece requires refinishing and reupholstering to become what the customer actually wanted. The cost and time of that process are real, as the figures in the previous section make clear. A custom Mercer & Gray piece arrives as the intended final result. Starting right costs less in the long run than correcting a compromise.
Bringing it back to your space
Customizing solid wood furniture finishes and fabrics is less about instinct and more about sequence. Choose a finish that fits the actual use of the piece. Prepare the surface properly before anything goes on it. Select fabric by durability rating, not just appearance. Match everything to your room's undertone. Then make an honest assessment of whether DIY is the right call or whether the piece deserves professional hands.
This guide covers how to customize solid wood furniture finishes and fabrics so your piece performs well and coordinates naturally in your home. If you'd rather have the outcome without navigating the process yourself, the Mercer & Gray have the option to customize all their pieces and a full customization tool which allows you to see for yourself how it could look!